
- Select the cell(s) you want to create a rule for.
-
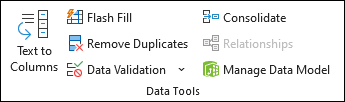
Select Data >Data Validation.
- On the Settings tab, under Allow, select an option:
- Whole Number - to restrict the cell to accept only whole numbers.
- Decimal - to restrict the cell to accept only decimal numbers.
- List - to pick data from the drop-down list.
- Date - to restrict the cell to accept only date.
- Time - to restrict the cell to accept only time.
- Text Length - to restrict the length of the text.
- Custom – for custom formula.
- Under Data, select a condition.
- Set the other required values based on what you chose for Allow and Data.
- Select the Input Message tab and customize a message users will see when entering data.
- Select the Show input message when cell is selected checkbox to display the message when the user selects or hovers over the selected cell(s).
- Select the Error Alert tab to customize the error message and to choose a Style.
-
Select OK.
Now, if the user tries to enter a value that is not valid, an Error Alert appears with your customized message.
Tip: If you're a small business owner looking for more information on how to get Microsoft 365 set up, visit Small business help & learning.
Comments
0 comments
Please sign in to leave a comment.